How I Set Up My Math Word Wall (And Why I Finally Got It Right)
“I’ve had some version of a math word wall for most of my teaching career. For about 25 of those years, I was doing it completely wrong.”
If you teach math at the secondary level, you’ve probably wrestled with the math word wall question at some point. Do they actually work? Are students looking at them? Is it worth the wall space? I’ve asked myself all of these things — and I spent a long time putting up word walls that looked great in August and got completely ignored by October.
This past summer I did a full overhaul of mine. I teach Algebra 1, Algebra 2, and Geometry, so I’m working with a lot of vocabulary across three courses, and I finally landed on a system that I actually feel good about going into the school year. Here’s exactly what I do, why I made the choices I made, and what’s on my magnetic board right now.
Why a Magnetic Board Changed Everything for Me
I used to use a bulletin board strip along the top of my back wall. It looked tidy, it held cards beautifully — and students never looked at it. It was too far away, too high up, and updating it during a unit meant getting out a step stool. I stopped using it actively, which meant it stopped being useful.
Switching to a magnetic board in a more central location changed how I interact with the word wall during instruction. Now I can pull a card off and hold it up. I can reorganize terms mid-lesson when we’re making connections between concepts. I can hand a card to a student and ask them to find the right spot for it. It’s part of the lesson now instead of wallpaper.
What’s Actually on My Word Wall
I used to try to put everything up at once. Every vocabulary term from every unit, all ready to go on the first day. It looked impressive and it was completely useless. Students don’t need 80 terms staring at them in week one — they need the 8 terms that matter right now.
My word wall now has three types of cards, and I’m deliberate about which type each term gets.
Vocabulary Cards with Definitions
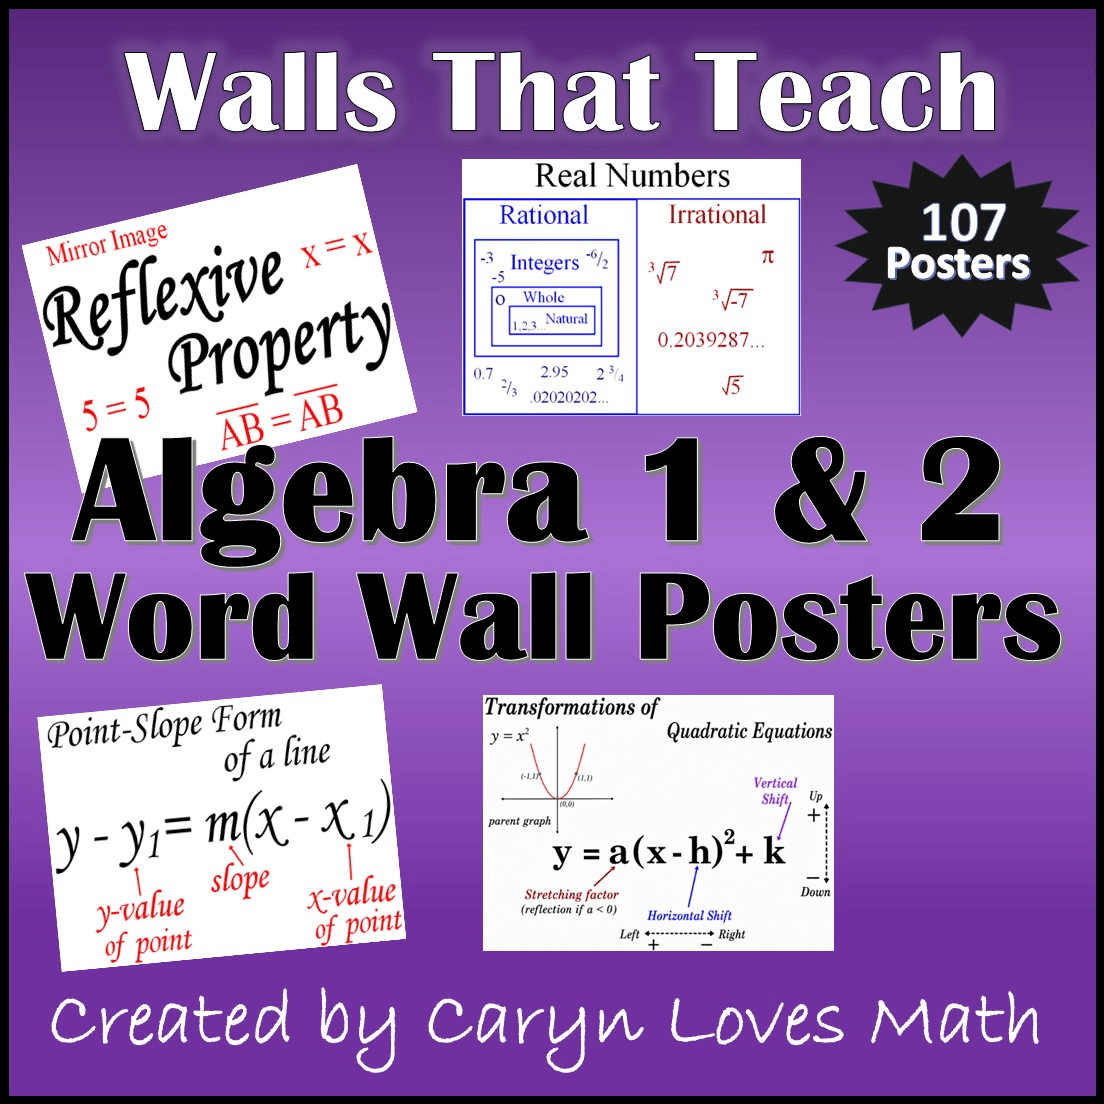
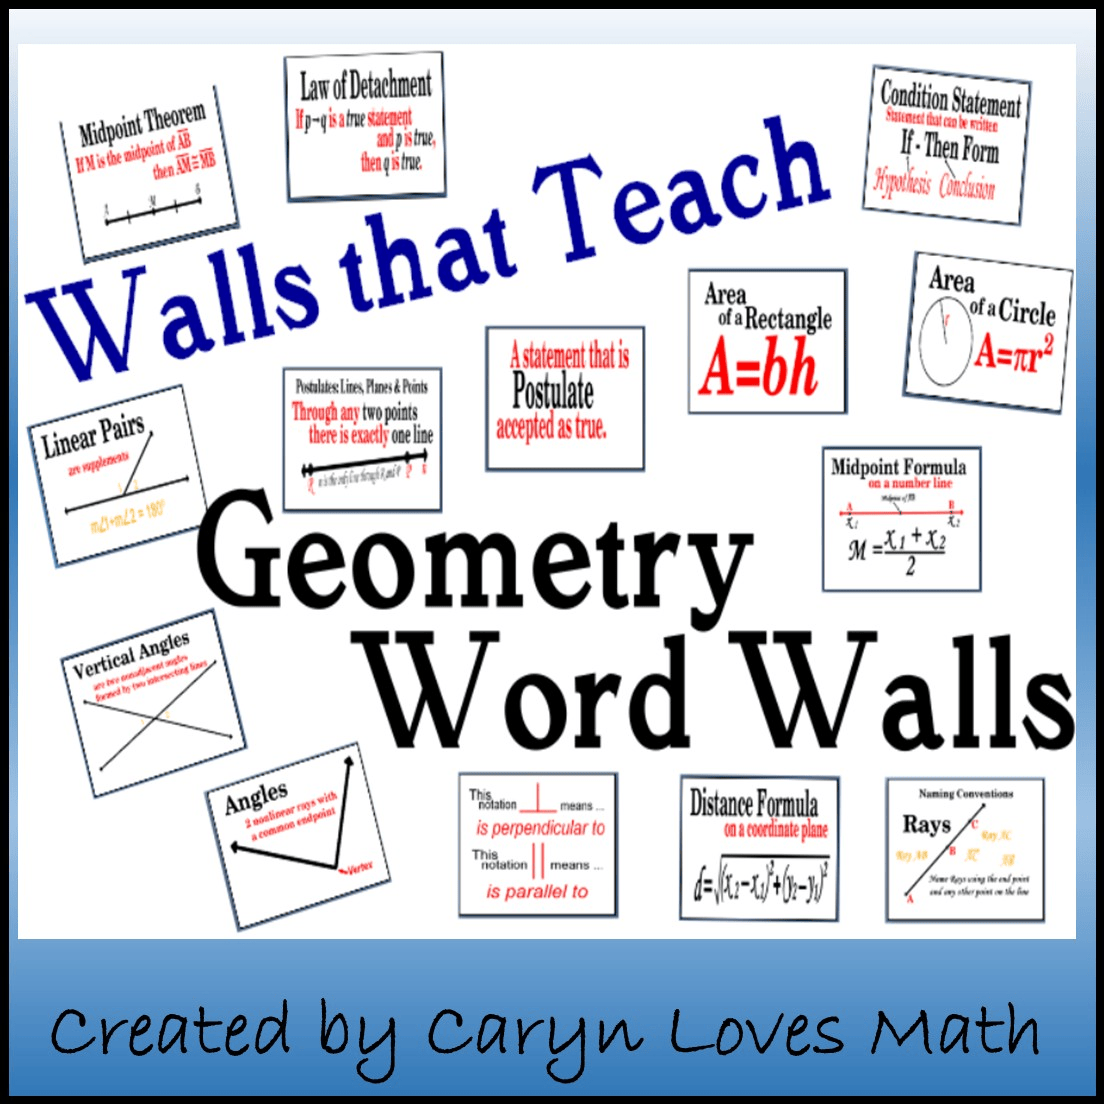
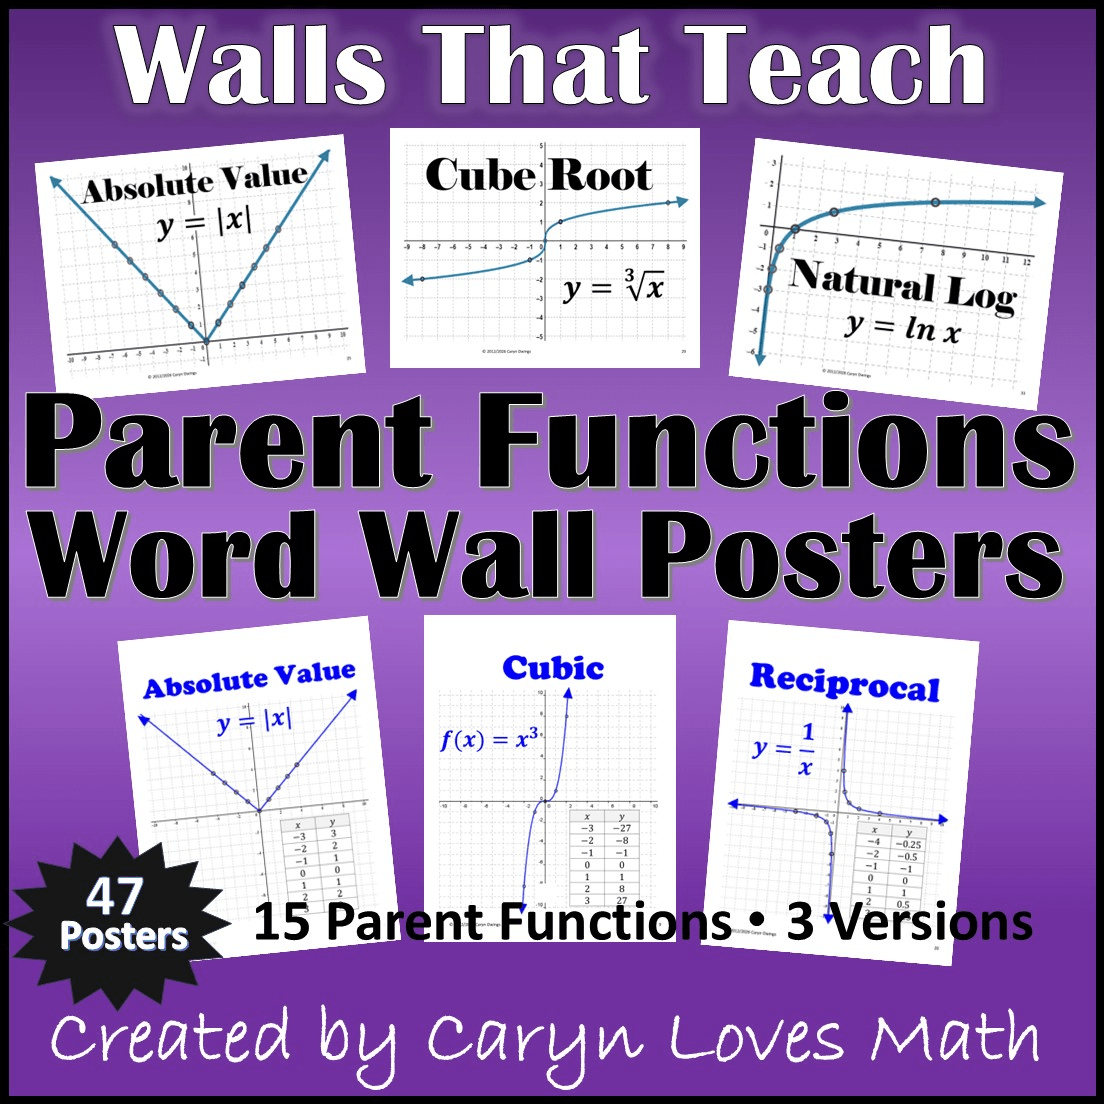
These are the bread and butter. Each card has the term large and bold at the top, the definition written in plain language underneath, and a simple visual if the concept is geometric or graphical. I keep the font large enough to be readable from a student desk — which means I’m not cramming paragraphs onto a card. One term, one clear definition, one image if it helps.
I add these as we introduce new vocabulary during a unit, not all at once at the beginning. When we start quadratics, up go the quadratic vocabulary cards. When we move to complex numbers, those cards go up. This sounds obvious, but it took me an embarrassingly long time to stop front-loading the whole unit’s vocabulary on day one.
Formula Reference Cards
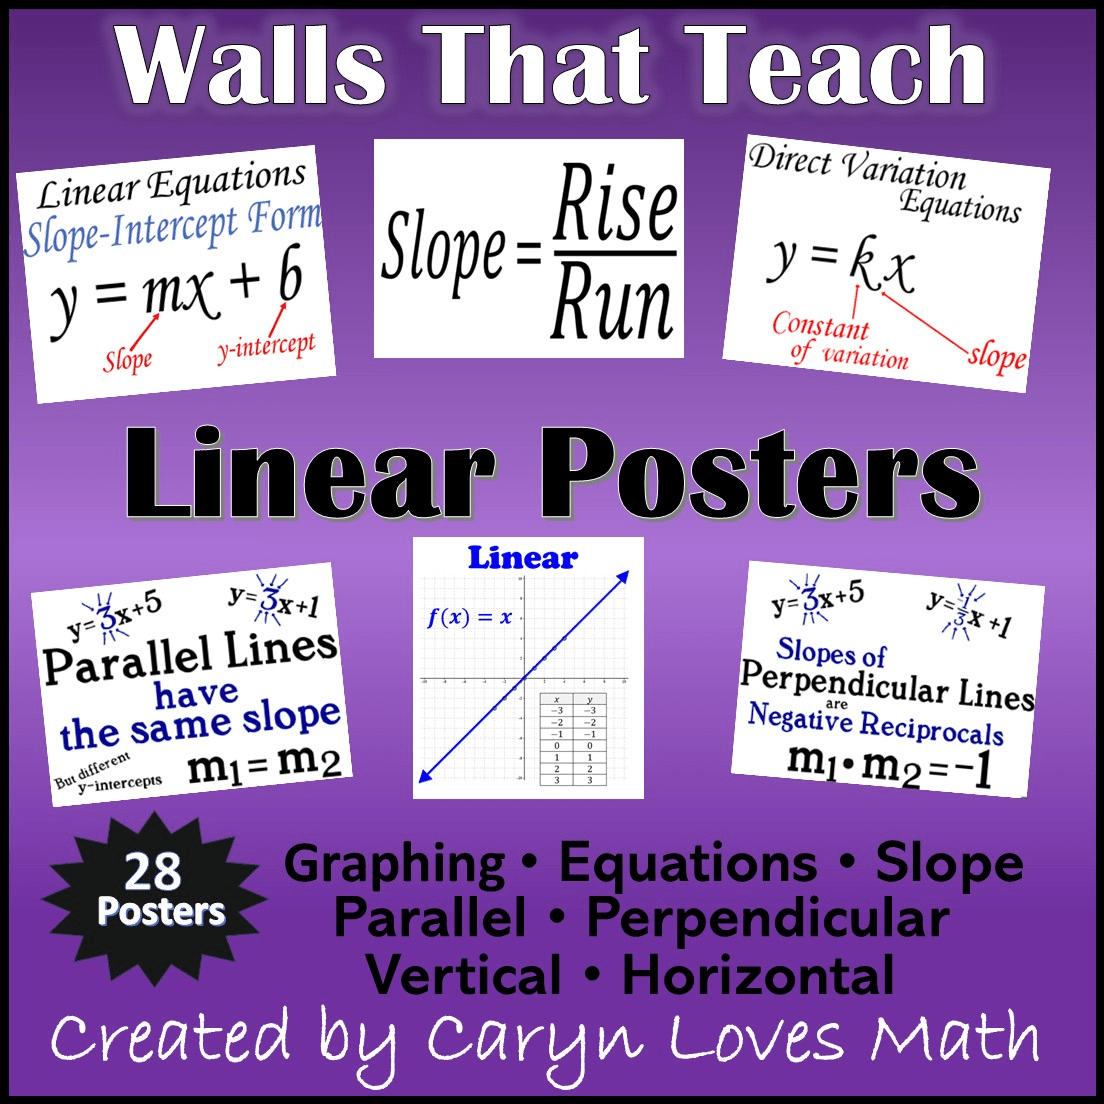
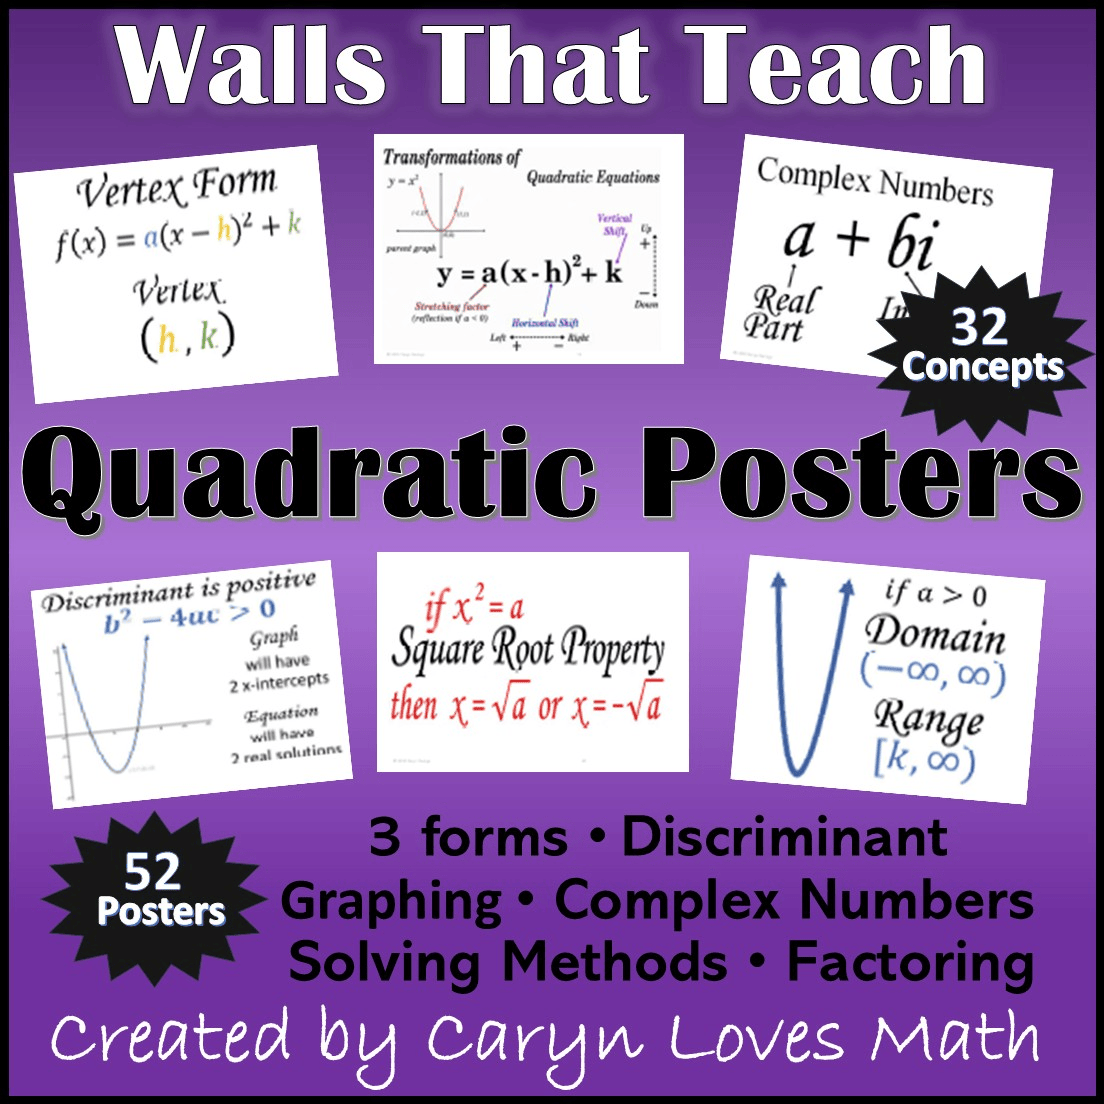
These are the cards students actually use. The quadratic formula. The distance formula. The slope formula. Trig ratios. I keep these up all year — they don’t come down when we finish a unit because students need them again in later units and again when we review for finals.
I print formula cards slightly larger than vocabulary cards so they’re easy to spot. Students know that if they need a formula during practice, they can look up. I’d rather they look at the wall than ask me for the third time what the quadratic formula is — and I say that with love.
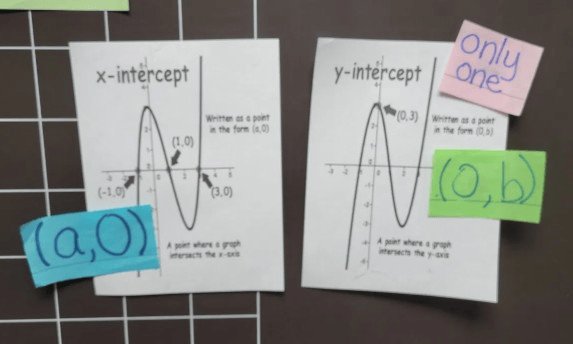
Printed cards are a starting point — the sticky notes are where the real teaching happens. I add those during the lesson as students ask questions or make connections I want to keep visible.
Graphic Organizers and Visual Reference Cards
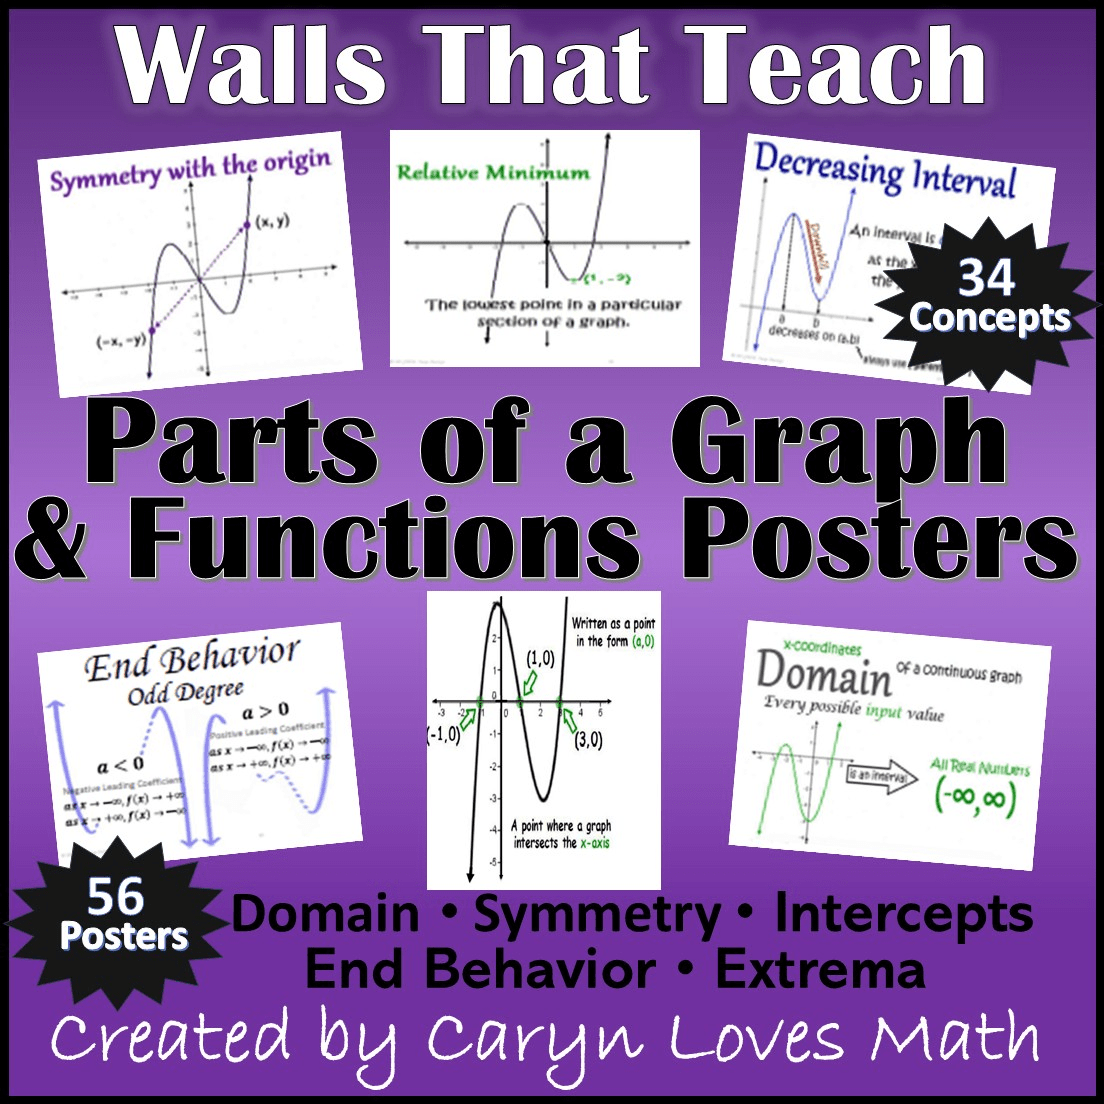
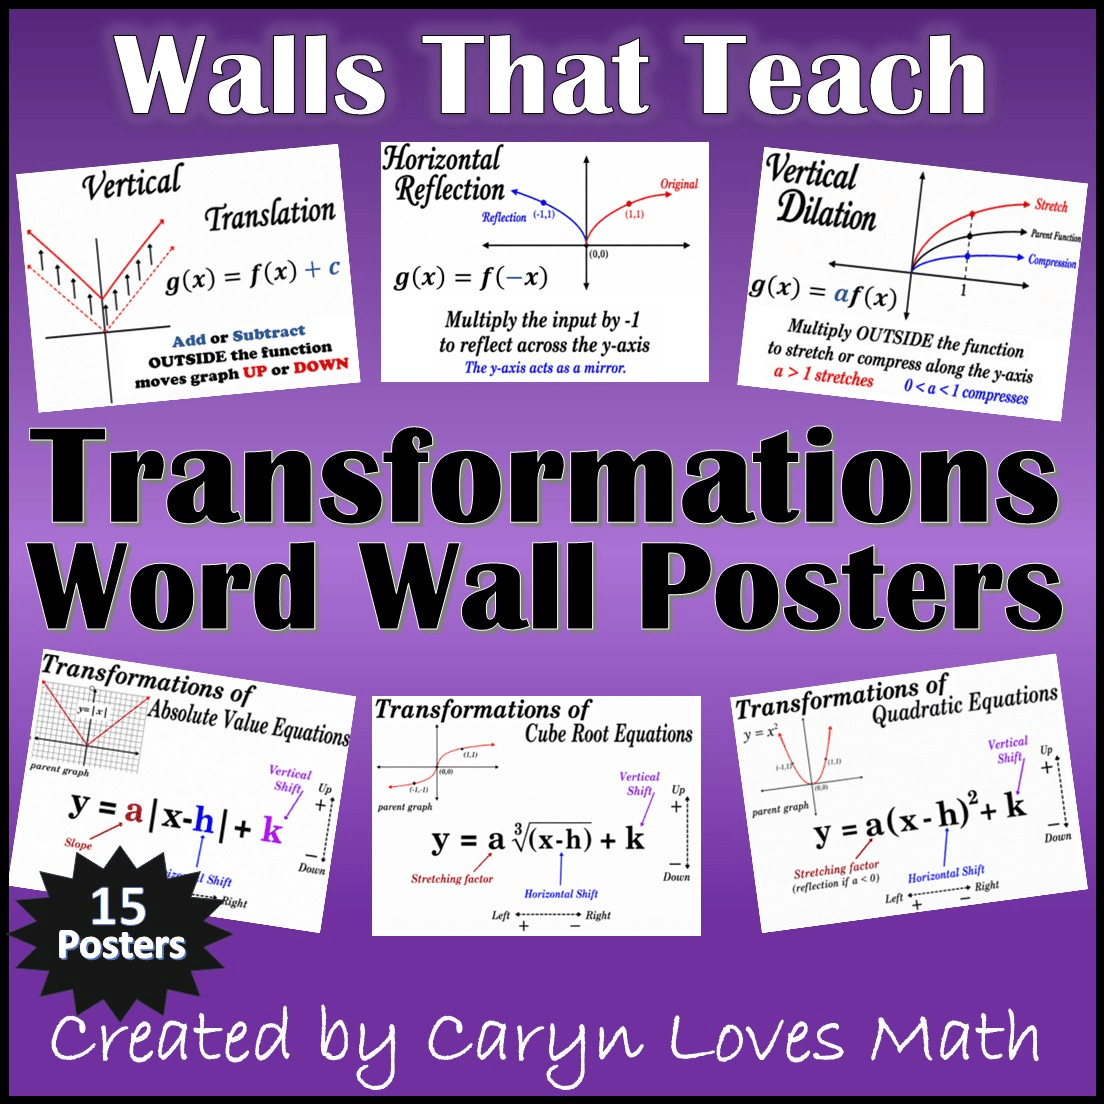
This is the category I added to my word wall relatively recently, and it’s made the biggest difference in how students actually use it. Some concepts just don’t compress well into a definition. Transformations. The relationships between forms of a quadratic. The unit circle. A small, laminated graphic organizer on the wall gives students a visual anchor that a definition card can’t provide.
I’m careful not to overdo this category — too many graphic organizers and the wall becomes noise. I pick the ones where I notice students struggling to hold the whole picture in their head at once. Those are the ones that earn wall space.

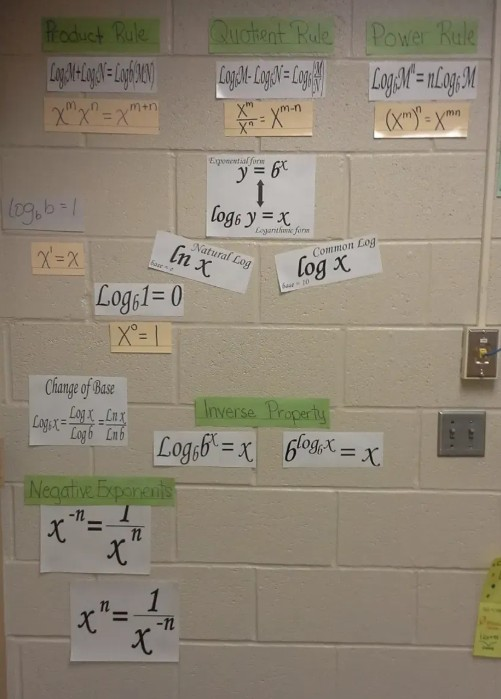
The logs wall built up over a full unit — each cluster of cards went up as we covered that concept, not all at once on day one.
You Don’t Have to Start with Printed Cards
I want to be honest about something: a lot of my best word wall moments over the years have involved construction paper, markers, and tape — not printed cards at all. The quadrilateral family tree on my door, the interval notation display, the increasing and decreasing interval column — those were all built by hand, sometimes with students, sometimes the night before a lesson.
Printed cards look polished and they’re faster to put up, but hand-built displays have their own value. Students remember watching you build something. It signals that this content matters enough to make something for it. If you’re just starting out and don’t have printed word wall cards yet, construction paper works just fine. The system matters more than the materials.

The quadrilateral family tree — construction paper, hand-lettered, built right on the door. Students referenced this constantly during the polygons unit.

Sometimes the best real estate in the room is a column or a door. Use what you have.
How I Organize Across Three Courses
Teaching Algebra 1, Algebra 2, and Geometry in the same room means I have a lot of vocabulary to manage. I organize my magnetic board into three sections — one per course — using a thin strip of colored border tape to separate them visually. Within each section, cards are loosely grouped by unit.
I don’t keep all three courses fully populated at once. During an Algebra 2 unit, those cards are current and visible. The Algebra 1 and Geometry sections might have formula cards and a few key vocabulary cards, but I’m not maintaining full unit vocabulary for a course I’m not actively teaching that week. This keeps the board from becoming overwhelming and keeps my maintenance time reasonable.
How I Actually Use It During the School Year
The word wall only works if you reference it. I know that sounds obvious, but it’s the step that most word walls skip. Here’s what that looks like in practice:
- During direct instruction: When I introduce a term, I put the card up while we’re talking about it — not before, not after.
- During student practice: I remind students that the wall is there. “Before you ask me what the vertex form looks like, check the wall.” This has to become a classroom norm, and it takes a few weeks to stick.
- During review: I use the cards as review prompts — cover the definition and ask students to recall it, or use terms on the wall as a quick oral review at the start of class.
- When making connections: When we hit a concept in Algebra 2 that connects to something from Algebra 1, I can pull both cards and hold them side by side. That physical act of connecting two cards does something that pointing at a slide doesn’t.
Free Resource: Quadratics Solving Review
A free review activity covering all four solving methods — great for before or after a quadratics unit. Grab it below.
Get the Free Review →The Magnet Hack That Has Cost Me Almost Nothing
People ask me all the time how I get cards to stick to the board without using tape that destroys them. The answer is embarrassingly simple, and I’ve been doing it for years: I take the free promotional magnets that businesses hand out — insurance agents, real estate offices, the pizza place by school — and I cut them up into small squares. Then I use double-sided foam tape to attach a magnet square to the back of each card.
That’s it. Each card gets one small magnet on the back, and it holds on the board all year. When I need to pull a card off and hand it to a student, it comes off cleanly. When I need to reorganize, I can move things around in seconds. I’ve been cutting up calendar magnets since at least 2004 — I still have a State Farm calendar magnet from that year in my supply drawer that I haven’t finished using yet.

The double-sided foam tape that makes the whole system work.

One small magnet square on the back of each card. That’s the whole system.

This magnet has been in my supply drawer since 2004. I am not kidding.
What I Updated This Summer
I spent the last couple of weeks going through my word wall cards for all three courses and honestly, some of them were rough. Fonts too small, definitions too wordy, a few that were just wrong in ways I can’t believe I left up. Here’s what I changed:
- Simplified every definition to one or two sentences maximum
- Added a visual example to any vocabulary card where the term has a geometric or graphical meaning
- Reprinted all formula cards at a slightly larger size — they were readable, but barely
- Added two new graphic organizer cards: one for quadratic forms and one for transformation rules
- Color-coded by course so students can quickly find the section they need
It took longer than I expected, but I’m walking into this school year with a word wall I’m actually excited about — which has not always been true.
If your word wall has been decoration more than instruction tool, a few small changes to how you build and use it can make a real difference.
At least, it finally did for mine — only took 30 years.
Word Wall Resources for Your Classroom