
If you’ve never used a graphing walk-around activity in your classroom, the concept is simple: problems are posted around the room on cards, students move from card to card solving as they go, and the answer to each problem tells them which card to find next. It’s self-checking, it gets students moving, and once students know the format, you barely have to explain anything.
I’ve been using graphing walk-around activities for years — across linear equations, quadratics, absolute value, piecewise functions, square root, exponential, logarithmic, circles, and more. At this point the format is woven into almost every graphing unit I teach.
This post covers everything I’ve learned about making these activities work: how to set them up, how to store them so they last, the tips I’ve picked up over the years, and how I adapt them for every situation in my classroom.
Setting Up a Graphing Walk-Around Activity
The setup is genuinely print and go. Print the cards, slide them into protective sleeves, and hang them on the wall around the room. That’s it. No laminating required, no prep beyond printing — the sleeve protects the card and you can reuse them term after term.
I hang the cards at a height students can read easily while standing. Spacing matters more than you might think — if cards are too close together you get traffic jams, and if they’re too far apart students spend more time walking than working. I aim for roughly even spacing around the perimeter of the room.

Cards go anywhere there’s wall space — including the door.

Students sketch graphs and move to the next card when they’re ready.
What to Do When Your Class Is Too Big for the Room
Some of my classes are large enough that having everyone moving at once gets chaotic. My solution: the hallway. Students love getting “out” of class, even if they’re literally just stepping into the corridor for 40 minutes of math practice. I hang half the cards in the room and half in the hallway, which spreads students out and keeps the energy manageable.
It sounds like a small thing, but students who are mildly resistant to review activities are often genuinely enthusiastic about walk-arounds just because they get to leave the classroom. I stopped questioning it and started using it to my advantage.
Making It Work for Every Student
Not every student can move around the room — whether that’s because of crutches, a wheelchair, social anxiety, or just a day when someone isn’t feeling up to it. The walk-around format is easy to adapt: just print multiple cards per page and it becomes a desktop activity. Same problems, same self-checking structure, no movement required.
Every set I use includes an absent student page that has 6 graphs per page. I use this page two ways: I hand it to students who were absent so they can complete the activity at home, and I print it as the desktop version for students who aren’t able to move around. It also works beautifully as a sub day activity — just print the absent student page, leave it on desks, and the sub doesn’t need to hang anything or manage movement.

Print multiple per page and cut — instant desktop version.

Same activity, same self-checking — no wall required.
Two Versions for Two Different Purposes
Every walk-around activity I use comes in two versions: 12 cards and 6 cards. I use them for completely different purposes.
The 12-card version is what I use for full class practice or homework. It’s long enough to give students real repetition on a concept without feeling endless. As a homework assignment it works well because students can do it as the desktop version at home — no wall required.
The 6-card version is what I reach for when I need something shorter. Bell ringers, targeted review for a specific skill, or a quick check before moving on. Six problems is enough to tell me whether students have the concept or whether we need more time.
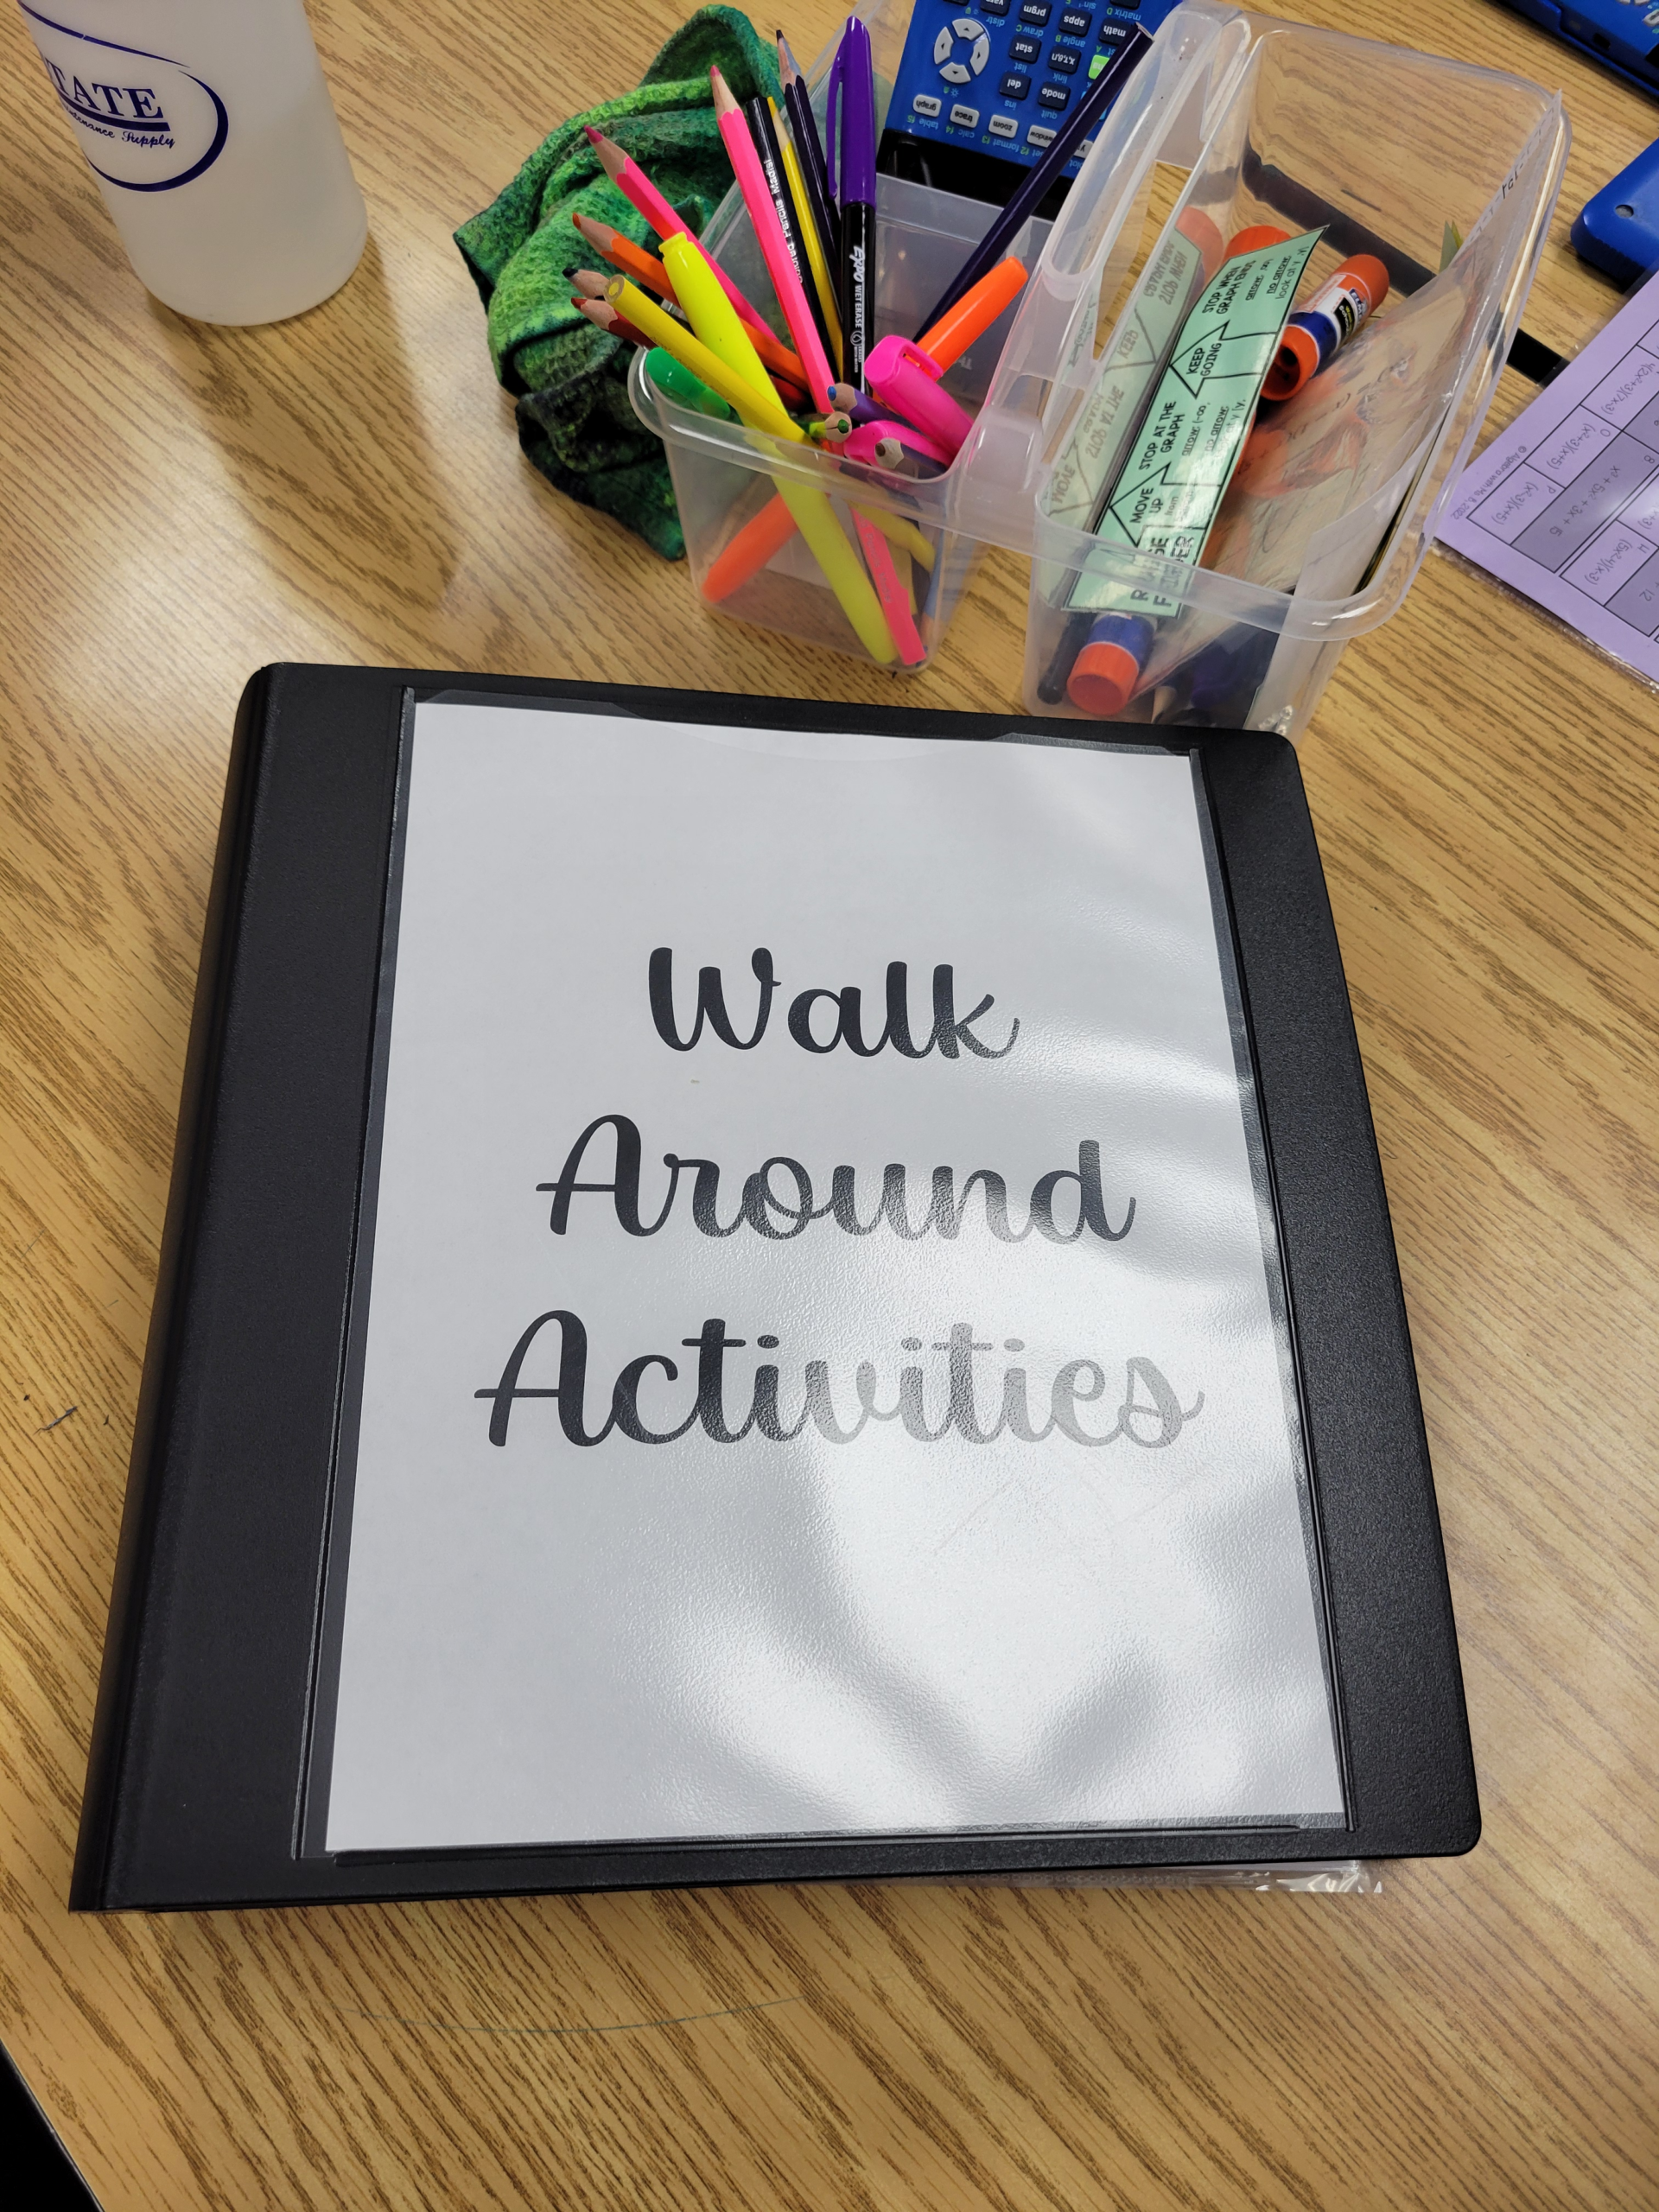
How I Store My Graphing Walk-Around Activities So They Last
Once I’ve printed and used a set, I store everything in a 3-inch binder. All 12 cards from one activity go into a single protective sleeve — they fit perfectly, nothing gets lost, and the sleeve keeps them from getting bent or torn between uses.
On the front of each sleeve I put a sticky note with two things: the topic and the level. I teach both regular Algebra 2 and advanced sections, and not every activity is appropriate for both. The sticky note tells me at a glance which class a set belongs to, so I’m not sorting through everything every time I need an activity.
The binder lives on my shelf organized by topic. When I need a walk-around for a specific unit, I go straight to that section, pull the sleeve, and I’m ready. The whole system takes about five minutes to set up after printing a new set, and it’s saved me hours of scrambling over the years.

One sleeve per activity, sticky note on front — the whole system lives in one binder.
The Answer Order Secret
Here’s something I’ve never put in writing before: all of my walk-around activities use the same answer order. Every set follows the same sequence, which means once I’ve used a few of them, I have the answer order memorized. I can glance at a student’s card and immediately know whether they’re in the right place — without checking a key.
I’ve been using this system for years. In all that time, exactly one group of students figured it out.
I’m still impressed by them.
Pro Tip: A Classroom Set of Laminated Graphs
This is the tip that has made the biggest practical difference in how walk-arounds run in my classroom. I made a classroom set of large graph papers and laminated them. When students get to a graphing card, they use a dry erase marker to sketch the graph on the laminated sheet, check their work, and then go back to their seat to record the final graph on their paper.
Why does this matter? Erasing mistakes on a dry erase surface is fast and low-stakes. Students are much more willing to try again when they can just wipe it off rather than erase pencil marks on paper. It also keeps the cards themselves clean and the whole activity moves faster.
I have several graph templates available as a freebie if you want to make your own laminated set — different grid sizes and scales so you have options depending on the activity.

Laminated graphs + dry erase markers = mistakes that wipe off in seconds.
Free Resource: Solving Quadratics Review Walk-Around
Get my free walk-around activity that covers factoring, square root property, and the quadratic formula — all in one self-checking activity. A great way to try the format before committing to a full set.
How I Use Them Across the Year
I teach a lot of graphing topics in Algebra 2 — linear equations, absolute value, parent functions, quadratics, square root, exponential, circles, piecewise functions, transformations, and logarithmic functions. Walk-around activities are part of how I teach almost all of them.
Early in the year I use them to introduce the format while the content is still straightforward. By the time we get to more complex topics mid-year, students are so comfortable with how walk-arounds work that they can focus entirely on the math. That’s the payoff for investing in the format early.
I also use the 6-card versions as bell ringers throughout the year for spaced review. A quick 6-card walk-around on absolute value graphing in the middle of the quadratics unit takes about 10 minutes and keeps earlier content fresh without losing class time.
The Graphing Walk-Around Activities I Use
If you want to try graphing walk-around activities in your own classroom, here are the ones I use — organized by topic. Most are bundles covering multiple levels or forms; the piecewise listing is a single activity.
Graphing Walk-Around Bundles by Topic
| Topic | What’s Included | |
|---|---|---|
| Graphing Linear Equations | All forms: slope-intercept, standard, point-slope, horizontal & vertical | View on TPT |
| Graphing Absolute Value | Translations, reflections, dilations & inequalities | View on TPT |
| Graphing Parent Functions | 14 activities covering absolute value, quadratic, square root & cubic | View on TPT |
| Graphing Quadratic Equations | Standard, vertex, intercept & mixed forms | View on TPT |
| Graphing Square Root Functions | 4 levels — shifts, reflections & dilations | View on TPT |
| Graphing Exponential Functions | 3 levels — shifting, reflection & dilation | View on TPT |
| Graphing Circles | Standard form & general form | View on TPT |
| Graphing Piecewise Functions | Walk-around activity | View on TPT |
| Graphing Transformations of Logarithmic Functions | Across multiple function types | View on TPT |
| Solving Quadratics by Graphing | 3 differentiated levels | View on TPT |
🌟 Get Everything: 56 Walk-Around Graphing Activities
If you teach multiple graphing topics — which most Algebra 2 teachers do — the 56-activity bundle is the most cost-effective way to get everything at once. It covers a full year of graphing concepts including all the topics above plus nonlinear systems, quadratic inequalities, systems of equations and inequalities, and more.
⏰ This is a growing bundle — the price goes up each time new activities are added. Earlier is better if you’re considering it.
View the 56-Activity Bundle on TPT →Graphing walk-around activities are one of those classroom tools that sound almost too simple to be worth talking about. Print some cards, hang them on the wall, let students move.
But the way students engage with it — the focus, the self-correction, the willingness to try again on a dry erase surface — is something I haven’t been able to replicate with anything else.
🜐 More From the Quadratics Series
| Post | What It Covers |
|---|---|
| Square Root Property | Why the order of instruction matters more than you think |
| Completing the Square | A step-by-step approach starting with patterns first |
| Quadratic Formula | Why I finally stopped rushing the discriminant |
| Imaginary Numbers | Why I introduce i on day one |
| Station Review | How I use stations to review all five solving methods |
| Graphing Walk-Arounds (this post) | How I set up, store, and use walk-around activities all year |